BACK STORY:
As you probably already know, the JellyFish Lighting app already supplies a large number of presets to make your home or business look great. Many of these presets are intended to be displayed on all zones or some selected zones of your house and are indiscriminate of how many lights are in the zone or the specific locations of specific light nodes in each zone. They simply “run their course” on each zone no matter how big or small the zone is.
We have a few nice presets under the “Accent” category that many customers use to apply daily accent lighting to their home.
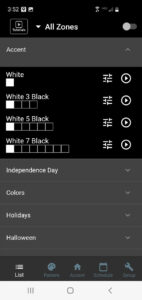
However, the “Accents” presets simply start and end their predesigned layouts/animation according to each zone. They apply their design (colors and animation) simultaneously to every active zone and they begin at the very first light in each zone. Many times this doesn’t give the desired effect if you are looking for specific lights in specific places.
If you are looking to apply very specific colors to light nodes in very specific locations, then the Accent feature at the bottom of the JellyFish App is for you!
PURPOSE:
The Accent feature at the bottom of the JellyFish app was designed to allow you to apply very specific colors to very specific/individual light nodes on your home…. and it accomplishes this on a ZONE-BY-ZONE basis. (THIS IS IMPORTANT TO REMEMBER. PLEASE READ THE MORE DETAILED EXPLANATION BELOW)
TUTORIAL
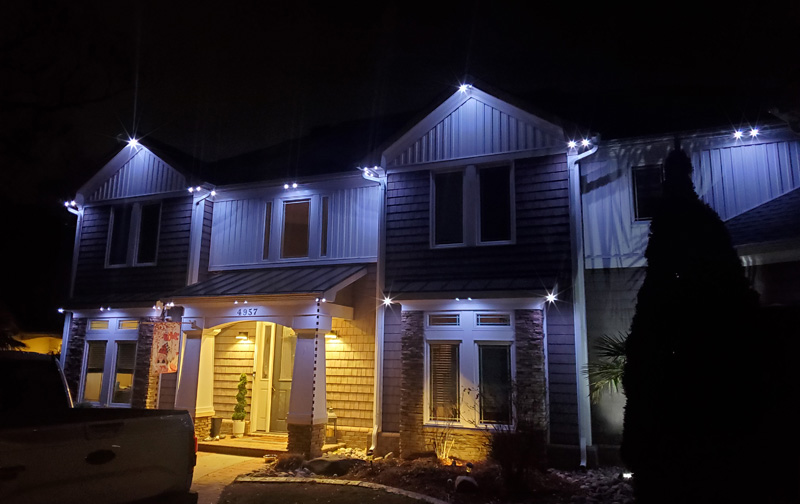
Here is a very quick tutorial on how to create “PEAKS AND CORNERS” on your home and apply it to everyday usage. (it is a very nice way to simulate “canned lighting” or custom accent lighting around your home).
Let’s get started…
- Open up the JellyFish App and click on the Accent feature at the bottom.
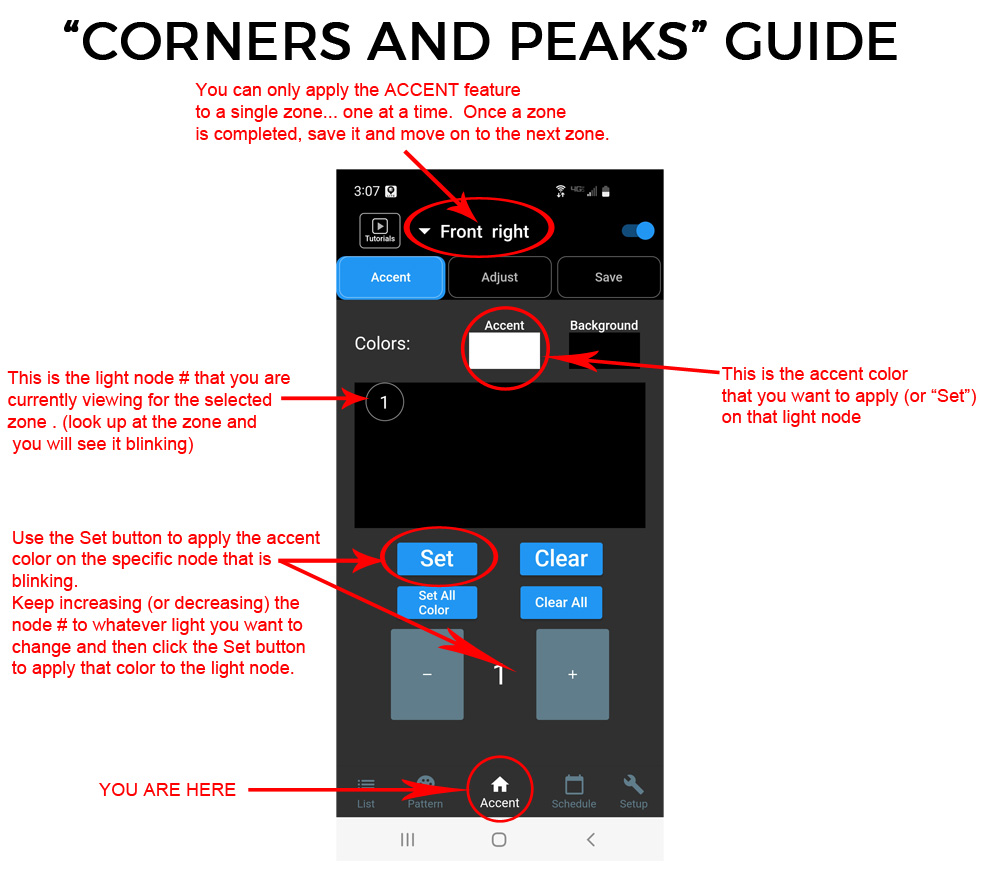
- When the Accent screen opens, you will see at the very top that you need to select one of your zones. The Accent feature can only work on one zone at a time, so just choose a single zone for now and when it is complete, you can move on to the next zone.
NOTE: It is a bit of tedious process to go through each zone one by one… but the end result will be EXACTLY what you want. - Once you have selected the zone, walk outside and look up at the zone. You should see a single light blinking at the very beginning of that zone. That is NODE #1 (or LIGHT #1) for that zone.
- If you want to apply a light color to that LIGHT/NODE then click the Accent Color palette and choose a color (it defaults to white). Once you have selected your color… click the “SET” button and you will notice that the blinking light now changes to that color.
- Click the + (plus) button to move to the next LIGHT/NODE.
- Keep clicking the + (plus) or – (minus) buttons to maneuver the blinking light around the zone and when you get to a place where you want a LIGHT/NODE to be colored, choose the color and click “Set”.
- Keep repeating this process until the entire zone has exactly the desired colors in exactly the desired locations. It can be time consuming, but the end result will be exact what you want.
- SAVING THE RESULT
Once you have the zone lighted the way you want it, click the “Save” button and give the zone a custom name and either save it in an existing category, or create a new category.
NOTE: Since these Accent Feature presets aren’t like normal presets, we recommend creating a new category for them. - Once the zone is saved, you can select the next zone (using the zone selector at the top) and then repeat the above process for that zone… and save each zone one by one until all desired zones are complete.
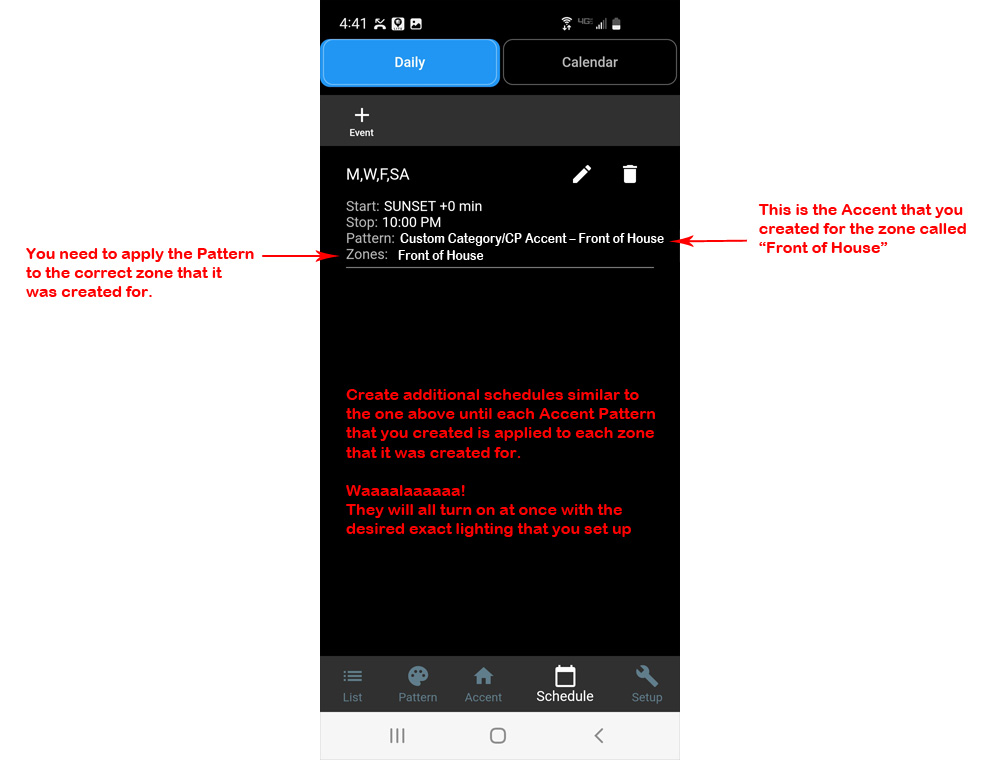
- Once you have saved all of these custom accents on each of these zones , if you want them to come on automatically each day you will need to set up a “Schedule” for each zone a preset that you just saved.
For example, if you had 5 zones named
1) Front of House
2) Back of House
3) Garage Peak
4) Left Side
5) Right Sideand you have already set each of them up using the Accent Feature and saved them accordingly as…1) CP Accent – Front of House
2) CP Accents – Back of House
3) CP Accents – Garage
4) CP Accents – Left
5) CP Accents – Rightand you wanted all of them to come on at sunset and turn off at 11:00pm, then you would need to add 5 separate schedules. Each schedule would turn on at sunset and turn off at 11:00pm… but you would need to select a single preset name and a single zone for each Schedule for them all to come on at once. - NOTE: Unlike normal presets which light up any zones that are active, the Accents Feature creates presets that are only applicable to a single zone. If you want to turn on all of the Accents that you have created, you will have to click each Accent preset one by one. Click the
 button for each Accent preset that you created.

 button for each Accent preset that you created.